If you are a camping enthusiast looking to capture the beauty of the night sky through photography, you have come to the right place.
In this comprehensive guide, you will find everything you need to know to prepare for night sky photography. From an essential gear and equipment checklist to camera settings and composition techniques, all aspects are covered.
You will learn how to capture the Milky Way, utilise foreground elements for added interest, and edit your photos with professionalism.
Ensure your safety while photographing at night by following our tips on precautions and dealing with wildlife.
Prepare yourself to elevate your night sky photography skills to the next level.
Key Takeaways:
- Prepare for night sky photography by checking gear and selecting a suitable location with favorable weather conditions.
- Use recommended camera settings for ISO, shutter speed, and aperture to capture stunning night sky photos.
- Incorporate composition techniques such as capturing the Milky Way and including foreground elements to add interest to your photos.
Preparing for Night Sky Photography
Preparing for night sky photography involves a mix of anticipation, planning, and equipping yourself with the right tools and knowledge to capture the breathtaking celestial beauty above. Whether you are under the starry skies of Elqui Valley or in the comfort of your campsite, the magic of night sky photography awaits.
Setting up your gear is a crucial step in this process. Ensuring that your camera is mounted on a stable tripod, adjusting the lens to capture the vast expanse of the sky, and setting the appropriate exposure settings are vital for achieving those stunning shots.
Location selection plays a significant role as well; scouting for spots with minimal light pollution and interesting foreground elements can elevate your images. Post-processing techniques such as adjusting contrast, exposure, and colour balance can further enhance the beauty of the night sky captured in your photographs.
Gear and Equipment Checklist
To achieve successful night sky photography, it is essential to have the right gear and equipment. Ensure you have your Canon DSLR camera, a sturdy tripod for stability, and appropriate lenses that can capture the intricate details of the starry sky. It may be beneficial to use LED lights for illuminating the foreground.
These components are vital in guaranteeing that your night sky photographs are sharp and clear. Consider opting for wide-angle lenses to capture more of the celestial beauty within a single frame. Remember to bring extra batteries and memory cards to support extended shooting sessions under the stars.
Utilising a remote shutter release can help reduce camera shake during long exposures, resulting in sharper images. Additionally, a red headlamp is useful for adjusting settings without disrupting your night vision or the peacefulness of the surrounding environment.
Location and Weather Considerations
Regarding night sky photography, selecting the right location and taking weather conditions into account are critical factors.
Whether you opt for the tranquil Elqui Valley or decide to set up your gear under the star-speckled sky, your understanding of timing, composition, and meteorological patterns can significantly impact the quality of your photographs.
In night sky photography, the visibility of the Milky Way holds immense importance. Optimal conditions featuring minimal light pollution are essential for capturing the splendor of the Milky Way. Leveraging tools like the Dark Skies app can assist in identifying areas with lower levels of light pollution, enabling you to capture clearer and more vivid images.
Being strategic in your timing, such as avoiding nights with a full moon, can boost the visibility of stars and galaxies in your photos, resulting in breathtaking outcomes.
Camera Settings for Night Sky Photography
Mastering the camera settings for night sky photography is crucial for capturing the celestial wonders in their full splendour. You need to adjust the exposure and ISO settings correctly, as well as set the aperture and shutter speed just right to produce exceptional night sky images.
Understanding the interplay between exposure, ISO, shutter speed, and aperture settings is essential for achieving remarkable night sky photographs. When photographing stars in the dark sky, a long exposure is often required to capture their brilliance.
To prevent star trails in your images, it is recommended to apply the ‘500 Rule,’ which involves dividing 500 by the focal length of your lens to determine the maximum shutter speed.
Additionally, opting for a wide aperture such as f/2.8 or wider can assist in gathering more light to capture those mesmerising star-filled skies. By employing these techniques, you can effectively utilise your DSLR camera to unveil the mysteries of the night sky.
ISO, Shutter Speed, and Aperture Settings
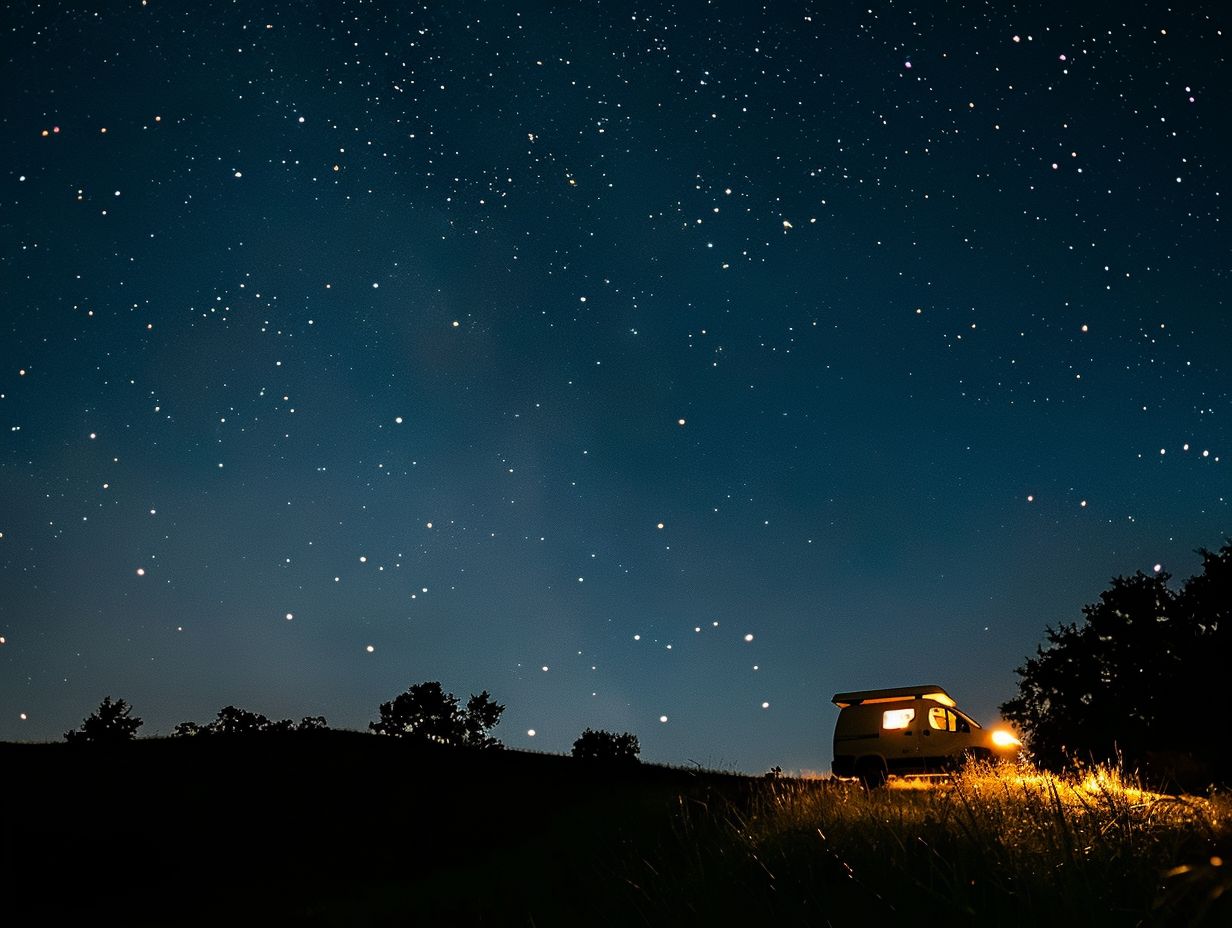
Understanding the interplay between ISO, shutter speed, and aperture settings is crucial for capturing captivating night sky photos. With the right composition, your Canon camera in hand, and knowledge of long-exposure techniques, you can eliminate star trails, experiment with burst mode, and create stunning images under the starry night sky.
When adjusting the ISO setting, you have control over your camera’s sensitivity to light, which is particularly important in low-light conditions such as night photography. Opting for a lower ISO can help minimise noise and graininess in your images, while higher ISO values make it easier to capture scenes with dim lighting.
Shutter speed determines the duration of light exposure – a longer exposure time allows more light to enter the lens, making it ideal for capturing bright starry skies. On the other hand, aperture influences the depth of field and the amount of light entering the lens, ultimately impacting the sharpness of individual stars in your photos.
Composition and Framing Techniques
Mastering composition and framing techniques is crucial for creating captivating night sky photographs. Whether you incorporate a compelling foreground element against the backdrop of the Milky Way or use your Canon DSLR to focus on specific celestial features, understanding composition is key to achieving breathtaking astrophotography.
When aiming to capture stunning night sky images, it is essential to achieve a harmonious balance between the foreground and the night sky. Carefully selecting a vantage point and adjusting camera settings are necessary steps to ensure that both elements complement each other effectively.
Post-processing also plays a significant role in refining night sky photos. Techniques like adjusting contrast, enhancing colors, and reducing noise can elevate the clarity and depth of your astrophotography, revealing the intricate details of stars and galaxies in the night sky.
Tips for Capturing the Milky Way
Capturing the ethereal beauty of the Milky Way requires a combination of precise composition, stable tripod setup, and the right equipment. With your Canon DSLR and the perfect lens to hand, you can frame the radiant stars of the Milky Way and enhance their allure through thoughtful post-processing techniques.
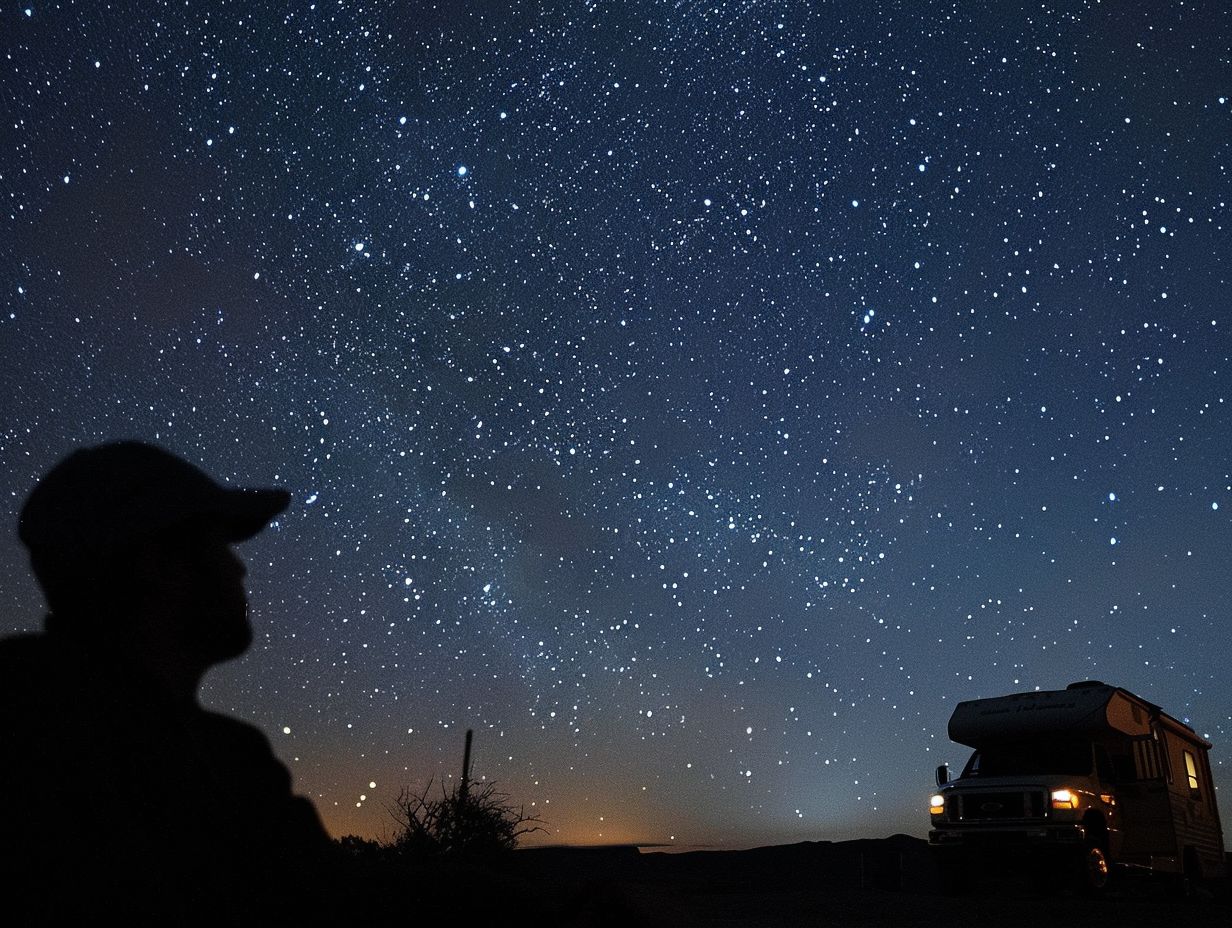
When composing your shot, consider foreground elements to add depth and context to the mesmerizing night sky. Positioning a captivating silhouette, such as a tree or a mountain, can create a striking contrast with the celestial display above. Utilising your tripod is crucial for achieving sharp, clear images in the low light conditions of astrophotography.
Opt for a robust, heavy-duty tripod to prevent camera shake and capture long exposure shots with precision. Select a wide-angle lens with a fast aperture to gather ample light and showcase the intricate details of the Milky Way.
Once the perfect shot is captured, refine your image in post-processing by adjusting white balance, contrast, and clarity to bring out the Milky Way’s ethereal colors and textures.
Using Foreground Elements for Interest
By integrating captivating foreground elements into your night sky compositions, you can enhance the depth, context, and visual appeal of your images.
When utilising your Canon DSLR and an appropriate lens, you have the opportunity to experiment with lighting, focus on intricate details, and produce engaging astrophotography that harmonises celestial marvels with earthly beauty.
The selection of suitable foreground elements is paramount; they should complement the night sky without overshadowing it. Natural elements such as trees, rocks, or bodies of water can be considered to establish a sense of location and scale. Placing these elements strategically within the frame can direct the viewer’s gaze towards the sky above.
By incorporating silhouette techniques, you can generate striking contrasts between the darkened foreground and the luminous stars, thereby amplifying the overall impact of your composition.
Editing Night Sky Photos
In the art of editing night sky photos, you must blend technical proficiency with creative vision. Utilise tools like Adobe Photoshop on your MacBook Pro to refine composition, enhance star details, and elevate the overall impact of your astrophotography. This process will transform raw captures into stunning celestial masterpieces.
By employing advanced post-processing techniques such as adjusting colour temperatures, correcting noise levels, and fine-tuning contrast, you can significantly enhance the quality of your night sky images. It is essential to strike a balance between enhancing the stars and preserving the natural beauty of the night sky.
Attention to composition elements like foreground interest, framing, and leading lines is crucial for creating visually striking night sky photography that captivates viewers. Mastering these tools and techniques will allow you to transform your night sky photos into works of art that truly shine.
Post-processing Tips and Tricks
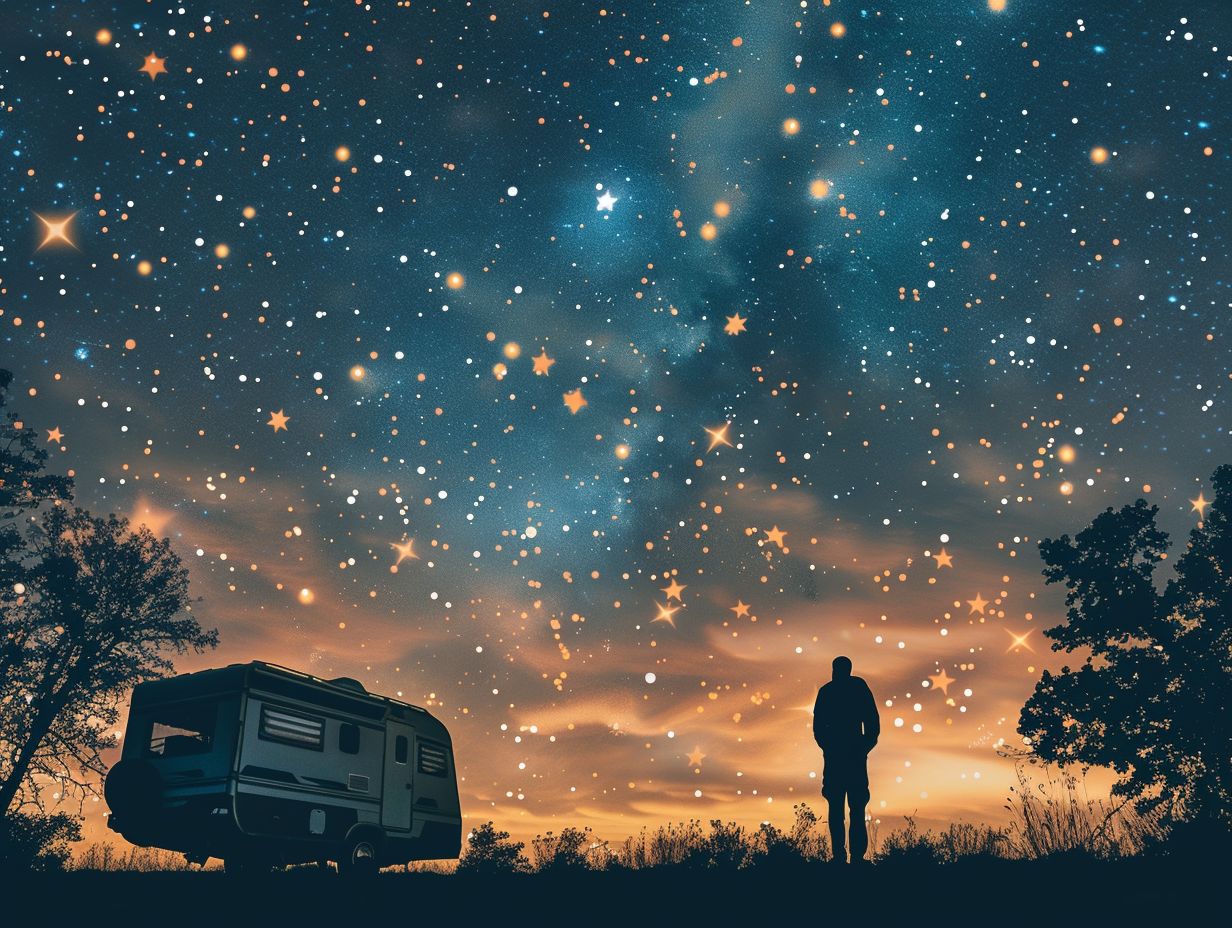
Mastering post-processing is a critical step in perfecting your night sky photography. With your Canon DSLR images prepared for enhancement in Adobe Photoshop, you can refine the composition, accentuate starry details, and highlight the mesmerising beauty of the Milky Way, transforming your captures into celestial masterpieces.
By making careful adjustments in post-processing, you can enhance the contrast between the dark sky and the twinkling stars, ensuring a visually stunning impact.
Employing tools such as levels and curves can improve the overall tonal range, allowing the stars to stand out in the night sky. Implementing selective sharpening techniques can reveal intricate details in individual stars, enhancing the depth and clarity of your celestial images.
Staying Safe While Photographing at Night
Ensuring your safety whilst capturing the night sky is essential, particularly in remote locations or during camping and hiking expeditions. When contending with wildlife encounters or navigating the terrain with your Canon DSLR under the starlit skies of the UK, taking necessary precautions is crucial for a secure and memorable photography experience.
When you venture out for night sky photography, it is important to pack essential safety gear like a reliable headtorch to illuminate your path without disturbing the natural ambiance. Utilising tools such as the Dark Skies app can assist you in locating optimal stargazing spots and keeping you informed about astronomical events.
Additionally, it is advisable to inform someone of your location and expected return time, especially when photographing in remote areas. Being prepared for sudden weather changes and carrying extra batteries for your equipment are also important safety measures to consider.
Precauciones para Acampar y Hacer Senderismo en la Oscuridad
When venturing into the darkness for night sky photography, it is crucial to take precautions for camping and hiking. Ensure your campsite is secure, be mindful of changing weather conditions, and use appropriate lighting sources like headlamps to navigate the terrain under the starry canopy.
When selecting a campsite, opt for level ground away from potential hazards such as cliffs or flood-prone areas. It is essential to pack extra layers of clothing to stay warm during the cold night and carry adequate water and food supplies. Familiarise yourself with the trail map and have a reliable GPS device or compass for navigation.
Inform someone of your plans before heading out and always follow Leave No Trace principles to preserve the natural beauty of the wilderness.
Dealing with Wildlife and Other Hazards
Encounters with wildlife and other hazards can present challenges during your night sky photography excursions. Whether you are navigating diverse locations, contending with unpredictable weather, or safeguarding your DSLR camera against light pollution, being prepared and vigilant is essential to ensure a safe and rewarding photography experience.
When venturing into wilderness areas for night sky photography, it is crucial to research the specific risks of the location to anticipate encounters with wildlife such as bears or mountain lions.
Carrying bear spray or noise-making devices can serve as deterrents in such situations. Staying updated on weather forecasts and packing appropriate gear like rain covers and thermal layers can help you withstand sudden changes in conditions.
To protect your DSLR camera, consider using a sturdy tripod to prevent accidental falls and carrying lens wipes to maintain clear, high-quality shots amid varying light intensities.
Frequently Asked Questions
What equipment do I need for night sky photography while camping?
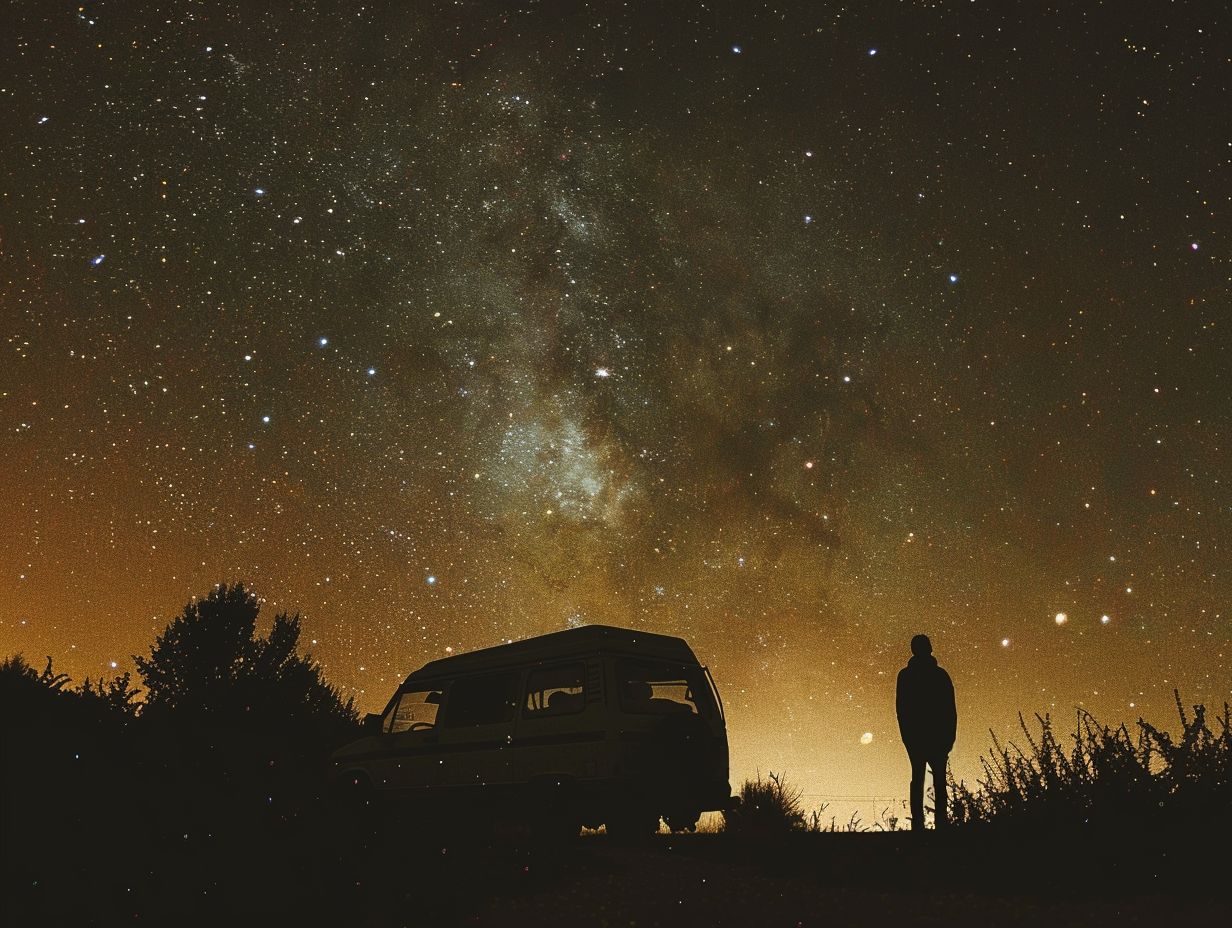
For night sky photography, you will need a camera (preferably a DSLR), a tripod, a remote shutter release, and a wide angle lens with a low aperture (f/2.8 or lower). You may also want to bring a flashlight, extra batteries, and a star tracker for longer exposures.
What is the best time to take night sky photos while camping?
The best time to take night sky photos is during the darkest hours of the night, typically between 11pm and 3am. This is when the stars and Milky Way will be most visible. However, be sure to check the weather forecast beforehand to ensure clear skies.
Where is the best location for night sky photography while camping?
The best location for night sky photography while camping is in a remote area with low light pollution. National parks, nature reserves, and other secluded areas are ideal. You can also use light pollution maps to find the darkest spots near your campsite.
How can I capture clear and sharp night sky photos while camping?
To capture clear and sharp night sky photos, make sure to use a tripod to avoid camera shake. Use a remote shutter release or set a timer to eliminate any additional movements. You may also want to manually focus your lens to infinity for sharper images.
What camera settings are recommended for night sky photography while camping?
For night sky photography, it is recommended to shoot in manual mode and use a wide aperture (f/2.8 or lower), a slow shutter speed (15-30 seconds), and a high ISO (1600-3200). Adjust these settings as needed for the desired exposure and to avoid overexposure.
How can I incorporate the campsite into my night sky photos while camping?
You can incorporate the campsite into your night sky photos by using light painting techniques. This involves using a flashlight or other light source to illuminate objects in the foreground while taking a long exposure of the night sky. You can also try setting up your tent or campfire as a subject in the composition.


