
How to Repair Camping Gear: Field Fixes for Common Failures
· Updated
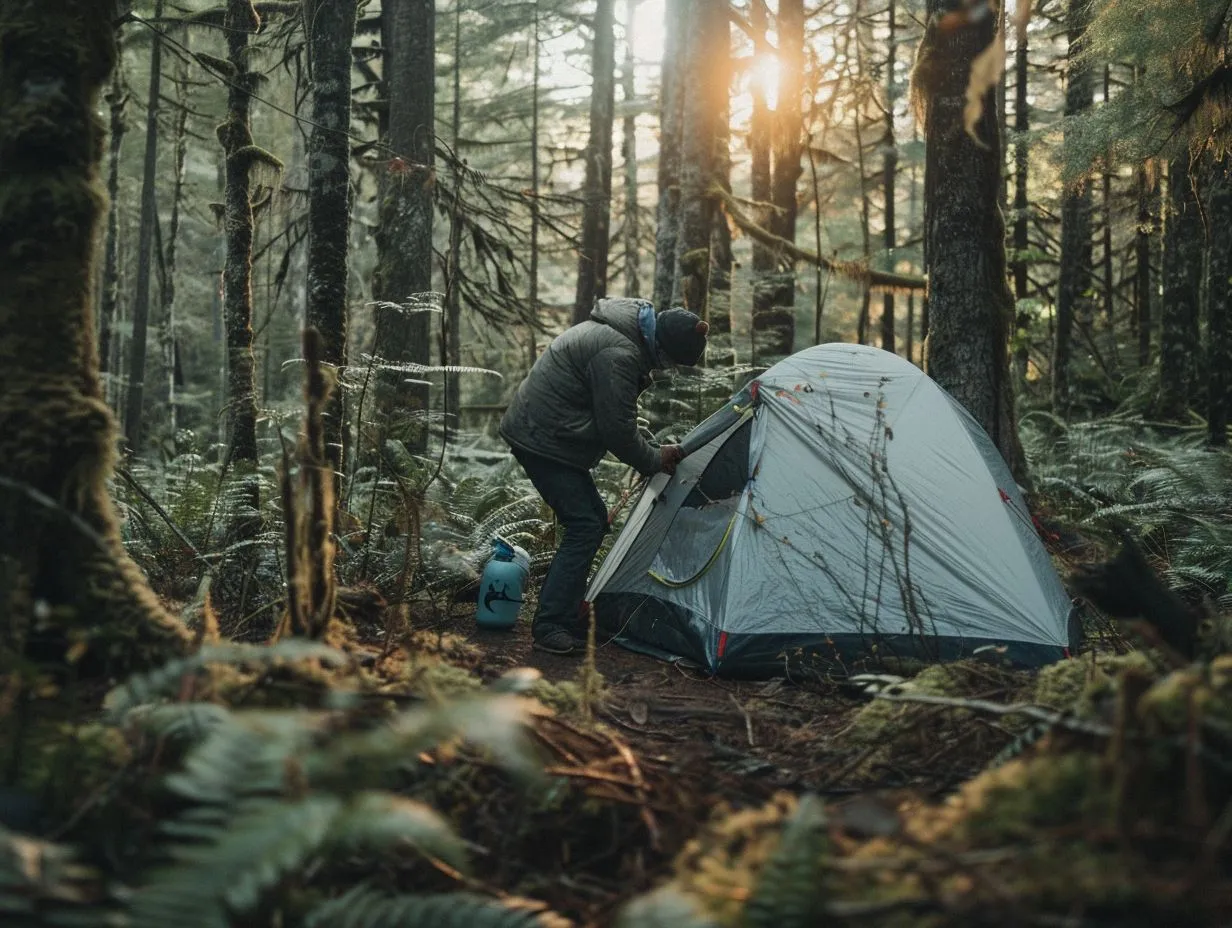
Almost every camping gear failure can be fixed on the pitch with tape, a few cable ties and a small repair kit. A snapped pole, a torn flysheet, a leaking seam, a jammed zip, a punctured air mat, a broken buckle and a stove that will not light are the seven failures you are most likely to meet, and none of them need to end your trip.
The trick is carrying the right handful of bits and knowing the quick fix for each. This is the field guide: what goes wrong, what to reach for, and how to get it sorted in ten minutes so you can pitch up and carry on.
It is part of the complete UK camping gear guide from Camping Sites in Britain, where you can find and compare campsites, caravan parks and glamping across the UK.
The repair kit to carry
A repair kit that fits in a sandwich bag covers almost everything on this page. Pack these seven items and you can improvise a fix for every common failure below.
| Item | Fixes |
|---|---|
| Gaffer tape (a metre wrapped round a pole or bottle) | Torn flysheet, groundsheet, splint reinforcement, temporary anything |
| Pole repair sleeve (the short alloy tube that ships with most tents) | Snapped or split tent pole |
| Four or five cable ties | Broken buckle, snapped clip, split pole, guyline anchor |
| A spare guyline and a couple of spare tent pegs | Lost guy, pole splint, pegging out a sagging pitch |
| Tenacious Tape or self-adhesive fabric patches | Torn flysheet, punctured air mat, ripped jacket |
| Needle and strong thread | Split seam, torn strap, lost buckle |
| A short candle or a graphite pencil | Stuck zip, seized slider |
Add a small tube of seam sealant and an air mat patch kit if you are heading somewhere remote. Everything here weighs less than a paperback and lives in the lid pocket of your rucksack.
A snapped tent pole
Slide a pole repair sleeve over the break, then tape it in place. The sleeve is the short metal tube that comes taped to a new tent's pole set, and it is made for exactly this. Line the two broken ends up inside the tube, centre it over the crack, and wrap gaffer tape tightly at both ends.
If you have lost the sleeve, a tent peg makes a decent splint. Lay a straight peg alongside the break and bind it on with tape or a couple of cable ties pulled tight. Fibreglass poles often split lengthways rather than snapping clean; the same splint works, and taping stops the sharp shards catching on the pole sleeve when you strike camp. A pole under this much strain wants less tension, so slacken the guylines on that side once it is up.
Choosing the right anchor points matters more once a pole is weakened. Our guide to selecting the right tent peg for the job covers which pegs actually hold in soft ground so a repaired pitch stays put.
A torn flysheet or groundsheet
Patch a tear with Tenacious Tape on the outside and a second patch inside, so the fabric is sandwiched. Clean and dry the area first, round off the corners of the patch so they do not peel, and press it down hard for a minute. Rounded corners are the difference between a patch that lasts the season and one that lifts on the first wet morning.
Gaffer tape does the same job in a pinch, though it leaves a sticky residue and will not survive many washes. For a groundsheet, patch the underside as well; that is the surface taking the abrasion. A tear near a seam or a pole sleeve is under more load, so make the patch generous and consider a few stitches through the tape once you are home. If your flysheet is wetting through rather than tearing, that is a proofing job, not a patch; see how to waterproof a tent.
A leaking seam
Run a bead of seam sealant along the inside of the leaking seam and let it cure before you pack up. Seams leak when the factory tape lifts with age, and drips almost always appear at the stitch line rather than through the fabric. Turn the flysheet inside out, find the run of tiny holes where the needle went through, and paint sealant over them.
Give it a few hours to cure, ideally overnight, so pitch the tent early in the day if you can. If the whole flysheet is tired and letting water through across the panels, reproofing with a spray-on or wash-in proofer restores the beading and is a bigger job for back home. On the pitch, sealant on the worst seam plus a groundsheet under your sleeping mat keeps you dry enough to finish the trip.
A stuck or split zip
Rub a candle or a soft graphite pencil along the teeth to free a stuck zip. Wax and graphite both lubricate the teeth so the slider runs again, and grit or salt is usually the culprit, so brush the zip clean first. Work the slider back and forth in short movements rather than forcing it, which is how teeth get bent.
A zip that does up but splits open behind the slider has a worn slider, not broken teeth. Squeeze the body of the slider gently with pliers, a fraction at a time on each side, so it grips the teeth more tightly, then run it up and test. Overdo it and the slider will not move at all, so go slowly. This is the single most common failure on sleeping bags, tent doors and rucksacks, and the pliers fix buys you months.
A punctured air mat
Find the leak by pressing sections of the inflated mat under water and watching for bubbles. A stream of bubbles marks the hole. No water to hand? Inflate the mat hard, hold it close to your ear and listen, or brush soapy water over the surface and watch for foam. Mark the spot with a pen the moment you find it, because it is maddening to lose again.
Let the mat down, clean and dry the area, then apply the patch from the kit that came with the mat, or a self-adhesive fabric patch, and weight it down while the adhesive grabs. Leaks around the valve are different; those usually need the valve tightening or reseating rather than a patch. A slow overnight softening with no findable hole is often just cold air contracting, not a puncture, so try a top-up before you tear the kit open. A failing mat is worth replacing properly, and our roundup of the best sleeping mats for comfort covers the ones that hold their air.
A broken buckle
Bridge a snapped side-release buckle with a cable tie or a few stitches until you can fit a replacement. If one wing of the buckle has cracked, thread a cable tie through the webbing on each side and cinch the two halves together; it will not release quickly, but it holds a rucksack lid or a tent strap closed all trip.
For a strap that has torn away from its stitching, a needle and strong thread sewn in a box pattern is stronger than the original. Carry one or two spare side-release buckles in a 25mm and a 38mm size if you rely on a big pack, since they are the parts that shatter in the cold and they slot straight onto the webbing.
A blocked or leaking stove
Clear a blocked gas jet with the fine wire found on most stove maintenance tools, or a single strand pulled from a wire brush. A camping stove that will not light or burns with a weak yellow flame is nearly always starved of gas by a blocked jet or a loose connection. Turn it off, let it cool, then check the jet and clear it gently without widening the hole.
A hissing leak at the canister thread means the connection is not seated or the rubber O-ring has perished. Disconnect, check the O-ring is present and clean, and reconnect firmly. Never test for a gas leak with a flame; brush soapy water over the joint and watch for bubbles instead. Carry a spare O-ring for your stove valve, because it is the one small part that fails and strands you. For a liquid-fuel stove, a blocked fuel line usually clears by pumping the priming plunger with the shaker jet, or by running the built-in needle.
Frequently asked questions
What should be in a camping repair kit?
Gaffer tape, a pole repair sleeve, four or five cable ties, a spare guyline and pegs, Tenacious Tape or fabric patches, a needle and strong thread, and a candle or graphite pencil for zips. Add seam sealant and an air mat patch kit for remote trips.
How do you fix a broken tent pole without a repair sleeve?
Splint it with a straight tent peg laid alongside the break, bound on tightly with gaffer tape or two cable ties. Centre the splint over the break, bind both ends firmly, and slacken the guylines on that side to reduce load on the repair.
How do you find a hole in an air mattress?
Inflate it hard and press sections under water, watching for a stream of bubbles. No water nearby? Brush soapy water over the surface and look for foam, or hold the mat to your ear and listen. Mark the leak with a pen at once.
Can you fix a stuck zip while camping?
Yes. Brush the teeth clean, then rub a candle or a graphite pencil along them to lubricate the teeth and work the slider gently back and forth. If the zip splits open behind the slider, squeeze the slider body a fraction with pliers so it grips the teeth again.
Why will my camping stove not light?
Usually a blocked jet or a loose canister connection. Let it cool, clear the jet with fine wire, and check the O-ring is present and the thread is seated firmly. Test any suspected gas leak with soapy water, never a flame.
How do you stop a tent seam leaking?
Paint seam sealant along the inside of the leaking seam over the stitch holes and let it cure, ideally overnight. If water is coming through the fabric across whole panels rather than at the seams, the flysheet needs reproofing instead.
The short version
Carry the seven-item kit and no common failure needs to cut your trip short. Splint the pole, sandwich-patch the fabric, seal the seam, wax the zip, patch the mat under water, cable-tie the buckle and clear the jet. For the wider picture on kit that lasts, read the complete UK camping gear guide, and when you are ready to book, browse campsites across Britain.