Night Sky Photography for Campers: How to Shoot the Stars.
· Updated
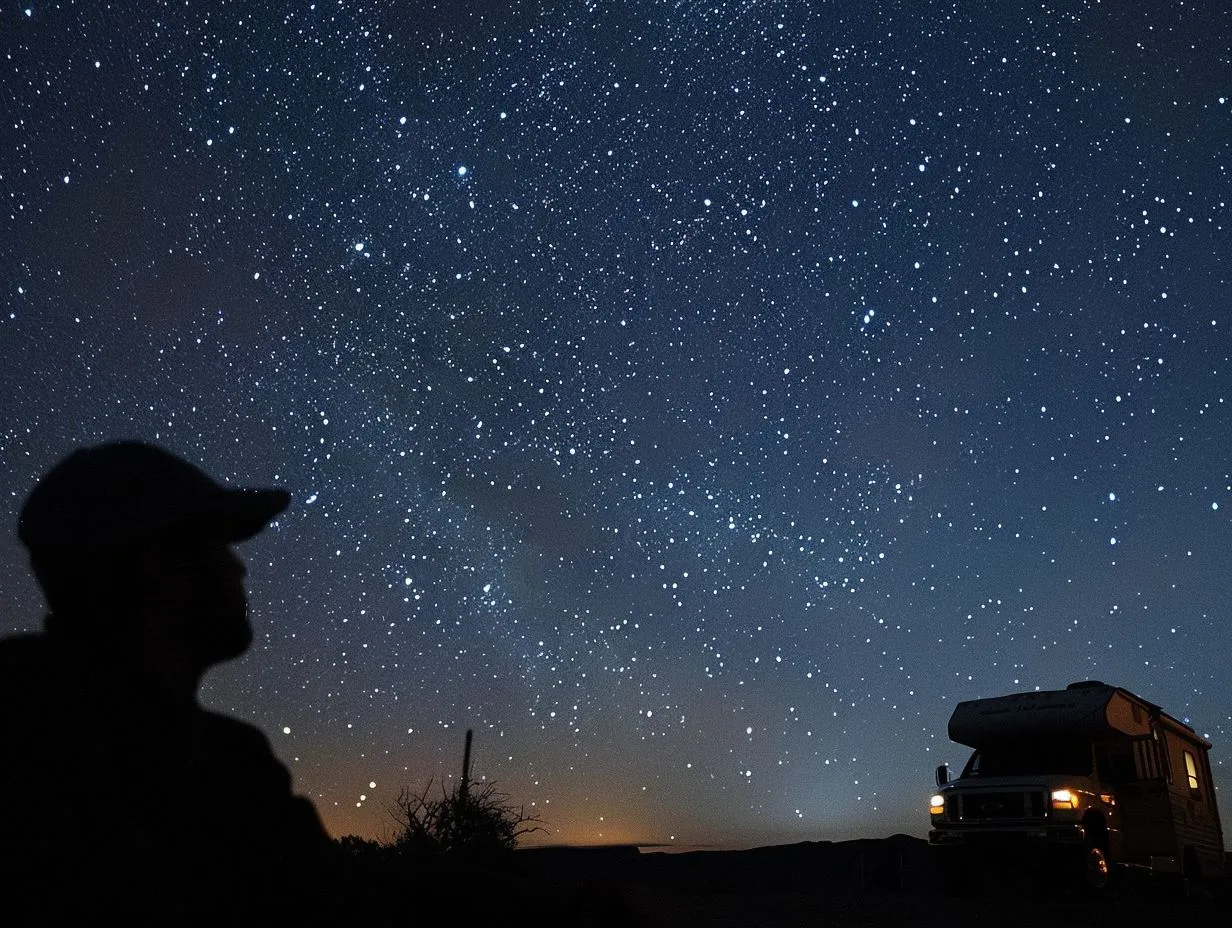
To photograph the stars from your pitch you need three things: a camera with a manual mode, a sturdy tripod and a genuinely dark sky. Set a wide aperture, a shutter of about 20 seconds, ISO 1600 to 3200, and focus manually on a bright star. That is the whole recipe. Everything else is refinement.
A campsite is one of the best places to do this, because you are already out after dark, away from the worst of the town glow, with a tent that makes a brilliant foreground. Pick your night and your spot well and you can catch the Milky Way arching over your pitch, or a meteor streaking across a long exposure. This guide is part of our wider guide to the best campsites for stargazing, and it sits alongside the rest of the activity guides here at Camping Sites in Britain.
Astrophotography is a narrower craft than daytime camera work. If you want general handling, landscapes and camp portraits, read our general camping photography tips. This piece is only about the sky at night.
The kit you actually need
You need less than the forums suggest, but a few items are non-negotiable. The tripod matters more than the camera, because a 20 second exposure shows every wobble.
- A camera with manual mode. A DSLR or mirrorless body is ideal because of the larger sensor, but a modern phone with a dedicated night or astro mode will get you a usable Milky Way shot if you prop it steady.
- A sturdy tripod. Essential. Anything that shifts in a breeze will smear the stars. A cheap, heavy tripod beats an expensive, flimsy one.
- A wide, fast lens. Something in the 14 to 24mm range at f/2.8 or wider lets in the most light and captures a big slice of sky. Wide and fast is the goal.
- A remote release or the self-timer. Pressing the shutter by hand shakes the camera. A cheap remote solves it, and the two second timer does the same job for free.
- Spare batteries. Cold nights drain batteries fast. Keep a spare in an inside pocket where your body heat keeps it warm.
- A red torch. More on this below, but pack one. It protects your night vision and keeps you from ruining other people's shots.
A phone works better than people expect. If a DSLR is not on the cards, rest the phone on a beanbag or a small tripod, turn on night mode and hold still. It will not match a full-frame sensor, but it will surprise you.
Your settings: a starting point
Start in full manual with a wide aperture, a shutter near 20 seconds, ISO 1600 to 3200, and focus set manually to infinity. Take one frame, check it on the screen, then adjust. These are the four dials that matter.
The 500 rule for sharp stars
The 500 rule tells you the longest shutter you can use before the stars blur into short trails. Divide 500 by your lens focal length and the answer is your maximum shutter in seconds. At 24mm that gives roughly 20 seconds (500 divided by 24 is about 20.8); at 14mm you get about 35 seconds. Go longer than that and the Earth's rotation turns pinpoint stars into little streaks.
The rule is a rough guide, not a law. Modern high-resolution sensors show trailing sooner, so if you pixel-peep and the stars look soft, shorten the exposure a touch. For most campers, the 500 rule is close enough to start.
Aperture, ISO and focus
Open the aperture as wide as it goes, ideally f/2.8 or wider, so the lens drinks in as much starlight as possible. Set ISO to 1600 as a starting point and push to 3200 if the frame comes out too dark. Higher ISO adds grain, so raise it only as far as you need.
Focus is where most beginners come unstuck. Autofocus hunts hopelessly in the dark, so switch to manual. Use live view, zoom in on the brightest star you can find and turn the focus ring until that star is the smallest, sharpest point. Once it is set, do not touch it again.
| Setting | Starting point | Why |
|---|---|---|
| Mode | Manual | You control every dial |
| Aperture | f/2.8 or wider | Gathers maximum light |
| Shutter | 500 divided by focal length (about 20s at 24mm) | Sharp stars, no trailing |
| ISO | 1600 to 3200 | Bright enough without heavy grain |
| Focus | Manual, infinity on a bright star | Autofocus fails in the dark |
Planning the night
Good astrophotography is decided before you leave home. You need a dark site, a dark sky and clear weather all landing on the same night, so plan around the moon and the forecast.
Choose a spot far from light pollution. The glow of a town 20 miles off will wash out faint stars, so the darker the site the better. Our guides to campsites near dark sky parks point you at the best of them, and you can browse pitches across the country in our campsite directory. Britain has proper dark sky reserves in places like Northumberland, the Brecon Beacons and Galloway that are made for this.
Time it around a new moon. A bright moon acts like a giant light in the sky and drowns the fainter stars, so the nights either side of a new moon are darkest. Then check the forecast for clear skies, because cloud ends the night before it starts.
Use an app to find the Milky Way. PhotoPills and Stellarium both show you exactly where the galactic core will rise and when. In the northern hemisphere the bright core is best from spring to autumn, roughly March to October, and it is highest through the summer months. In deep winter the core sits below the horizon, so you shoot stars and constellations instead.
Composition: give the sky something to sit above
A frame of nothing but stars gets dull fast, so anchor it with a foreground. Your tent, a lone tree, a hill or a dry stone wall all give the eye somewhere to land and lend a sense of scale to the sky above.
A lit tent glowing softly under the Milky Way is a classic camp shot, and it is easy to make. During the exposure, sweep a torch gently across the foreground for a second or two to light-paint it. Keep it subtle. A quick, faint wash looks natural, whereas a hard beam blows out and looks artificial. Take a few frames and vary how much light you add.
Shooting star trails and meteors
Star trails and meteors are two different jobs. Trails are made on purpose from long or stacked exposures; meteors are luck rewarded by patience and a wide lens.
For star trails you have two options. Either take one very long exposure of several minutes and up, or, better for digital, shoot dozens of 20 to 30 second frames back to back and stack them later in free software such as StarStaX. Stacking keeps the noise down and lets you drop any frame ruined by a passing car or a plane.
For meteors, point a wide, fast lens at the part of the sky the shower radiates from and let it fire frame after frame on a repeating timer. Most frames will be empty, then one will catch a streak. If you want to plan your trip around a peak, read our guide to planning a camping trip around meteor showers, so you are pitched up under a dark sky on the right night.
Processing basics
A little editing turns a flat raw file into the scene your eye saw. Shoot in raw rather than JPEG, because raw holds far more detail to pull out of the shadows.
The core moves are simple. Lift the exposure and shadows to reveal faint stars, drop the highlights so the brightest stars keep their shape, and nudge the contrast and clarity to make the Milky Way stand out. Set the white balance cooler for a natural night look, then apply gentle noise reduction to smooth the grain from that high ISO. Go easy. Over-cooked night shots look fake, and restraint reads as skill.
Practical camp tips
Two habits make a night out under the stars far more pleasant. Use a red torch and dress warmer than you think you need.
A red torch keeps your night vision intact. White light wipes out your eyes' dark adaptation for 20 minutes or more, and it splashes across everyone else's long exposures nearby. Red light barely affects night vision and keeps you a good neighbour on a dark site. Most head torches have a red mode built in.
Then dress for standing still in the cold. You will be motionless for hours while the temperature drops, so wear more layers than a walk would need: hat, gloves, warm socks and a flask. Being cold and miserable is the quickest way to pack up before the best shot arrives.
Frequently asked questions
Can you photograph the stars with a phone?
Yes. A modern phone with a night or astro mode can capture the Milky Way and bright stars if you keep it still. Prop it on a small tripod or a beanbag, turn on night mode and stay steady. A DSLR or mirrorless camera still gives cleaner results.
What is the 500 rule in astrophotography?
Divide 500 by your lens focal length to get the longest shutter, in seconds, before stars start to trail. At 24mm that is about 20 seconds; at 14mm about 35 seconds. High-resolution sensors may need slightly shorter times.
When is the best time to photograph the Milky Way in the UK?
The bright galactic core is visible from spring to autumn, roughly March to October, and sits highest in the summer months. Shoot on the nights around a new moon, under clear skies, well away from light pollution.
What ISO should I use for night sky photography?
Start at ISO 1600 and raise it towards 3200 if your frames are too dark. Higher ISO brightens the stars but adds grain, so use only as much as the scene needs and clean it up gently in editing.
How do I focus in the dark?
Switch to manual focus. Turn on live view, zoom in on the brightest star you can see, and adjust the focus ring until the star is the smallest, sharpest point. Then leave the focus alone for the rest of the session.
Why use a red torch for stargazing?
Red light preserves your night vision, which white light destroys for 20 minutes or more. It also stops your torch from ruining nearby long exposures. It keeps you seeing the faint stars and keeps you a considerate neighbour on a dark site.
The short version
Manual mode, a sturdy tripod, a wide fast lens, and a dark, moonless, cloudless night. Set roughly 20 seconds at f/2.8 and ISO 1600 to 3200, focus manually on a bright star, and put your tent in the foreground. Find your dark sky on our guide to the best campsites for stargazing and browse pitches in the campsite directory.