Photography tips for camping trips: light, composition and kit
· Updated
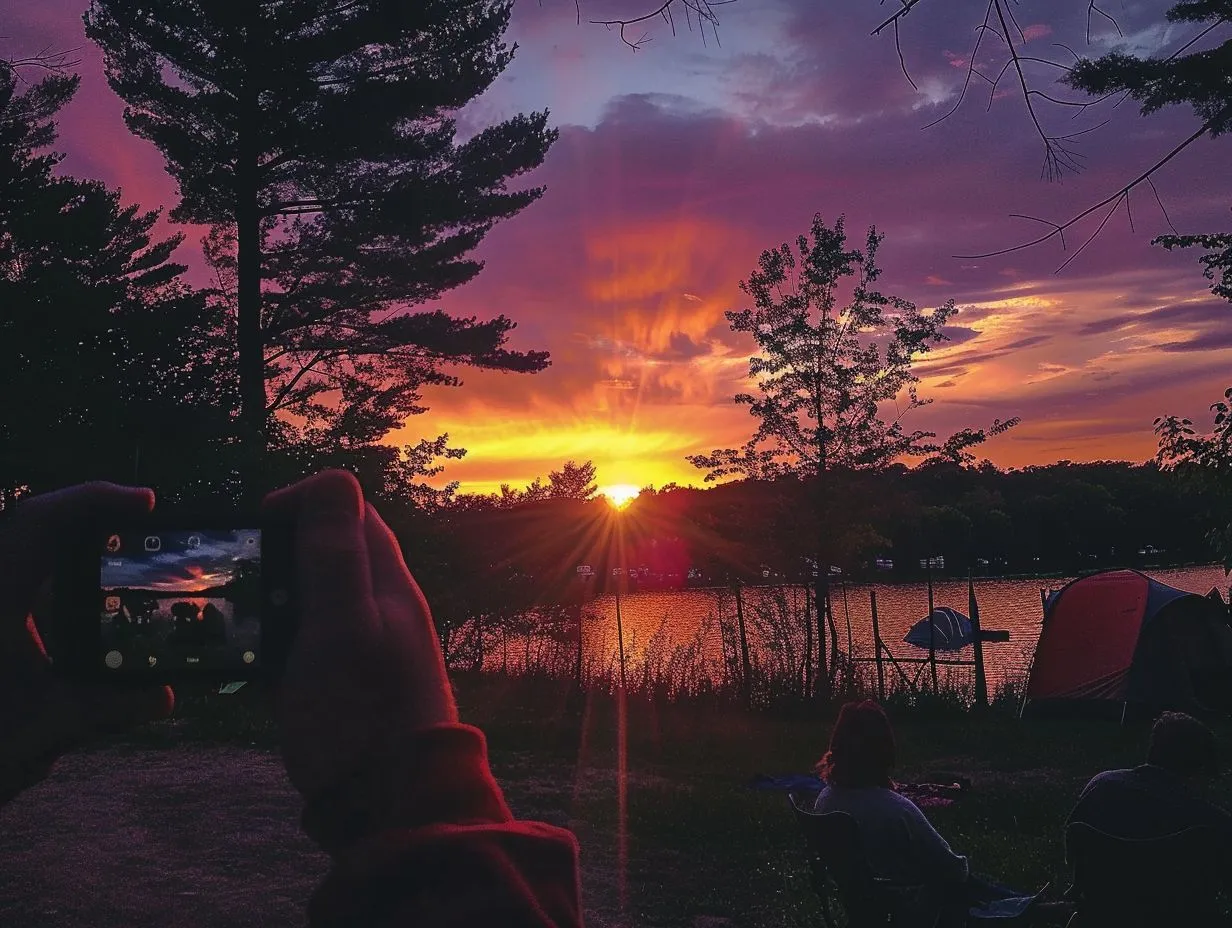
Better camping photos come down to three things: shoot in good light, put the frame together with intent, and keep your camera steady. Get those right and a phone will beat a fancy camera used badly. The single biggest change you can make is timing, because the light at dawn and dusk does more for a landscape than any lens or filter you can buy.
This is the craft guide from Camping Sites in Britain, where you can find and compare campsites, caravan parks and glamping across the UK. If you are after the dark-sky end of things, our companion guide to the best campsites for stargazing covers where to pitch under a proper night sky, and we link the astro and location guides at the end.
Everything below works whether you shoot on a phone or a DSLR. We flag the few places where the two differ.
Shoot in the right light
Light matters more than kit. The prettiest hour of the day for landscapes is golden hour, the sixty minutes or so after sunrise and before sunset, when the sun sits low and the light turns warm and soft. Shadows stretch out, textures pop, and everything gets that gentle glow you cannot fake in editing.
Midday is the hour to avoid. The sun is directly overhead, the light is harsh and flat, shadows are short and ugly, and skies blow out to white. If you are pitched up and the sun is high, that is the time to eat lunch, scout your compositions and wait.
Two other windows are worth knowing. Blue hour, the half hour before sunrise and after sunset, gives cool, moody light that suits a lit tent, a campfire or a still lake. Overcast days are quietly brilliant too: cloud acts as a giant softbox, killing harsh shadows, and it is the ideal light for woodland, wildflowers and waterfalls, where soft even light and a longer exposure turn moving water silky.
| Time of day | Light | Best for |
|---|---|---|
| Golden hour (dawn and dusk) | Warm, soft, low-angled | Landscapes, camp scenes, portraits |
| Blue hour | Cool, dim, moody | Lit tents, campfires, reflections |
| Midday sun | Harsh, flat, high-contrast | Avoid, or wait it out |
| Overcast | Soft, even, diffused | Woodland, waterfalls, wildflowers |
Compose with intent
A strong composition guides the eye to the point of the picture. The habit to build first is the rule of thirds: imagine the frame split by two horizontal and two vertical lines, and place your subject or horizon on one of those lines rather than dead centre. Most phones and cameras will show this grid if you turn it on in the settings, and it instantly makes a photo feel more balanced.
Beyond that, a few simple ideas do the heavy lifting.
- Leading lines. A path, a stream, a dry-stone wall or a fence draws the viewer into the scene. Point it towards your subject or off into the distance.
- Foreground interest. A rock, a clump of heather or your boots in the corner gives a landscape depth, so it reads as three dimensions rather than a flat backdrop.
- A sense of scale. Put a person, a tent or a car in the frame and suddenly the mountain behind it looks like a mountain. Without a human reference, big landscapes shrink.
- Reflections. A still tarn at dawn doubles the drama. Get low, put the waterline across the middle for a mirror shot, and wait for the wind to drop.
Keep the horizon level. A tilted sea or a sloping lake is the fastest way to spoil an otherwise good shot, and it is the hardest thing to fix convincingly later.
Get the camera basics right
You do not need to shoot fully manual, but a handful of settings separate sharp, clean landscapes from soft, noisy ones. The principles are the same on a phone and a DSLR, even if the controls differ.
On a phone
Tap the screen to focus on your subject, then press and hold to lock focus and exposure so the phone does not re-adjust as you recompose. Drag the little sun slider up or down to brighten or darken the shot before you take it. Turn on the grid for the rule of thirds, keep the lens clean with a quick wipe, and avoid the digital zoom, which just crops and softens the image. Walk closer instead.
On a DSLR or mirrorless
For a classic front-to-back sharp landscape, use a small aperture around f/8 to f/11, which keeps both the foreground rock and the distant hill in focus. Keep the ISO as low as it will go, 100 or 200, for clean images without grain. That combination usually means a slow shutter speed, which is exactly why the next point matters.
Keep it steady
A tripod is the single best accessory you can pack. It gives you pin-sharp shots in low light and lets you do long exposures of moving water or drifting cloud. No tripod? Rest the camera or phone on a rock, a wall, a rucksack or a gatepost, and use the two-second timer or a remote so pressing the button does not shake the shot. For water blur without a tripod you will struggle, so plan those shots around something solid to lean on.
Look after your kit in the field
British weather will test your gear, so a bit of care keeps it working. The three enemies are water, sand and cold.
- Rain. A dry bag or even a freezer bag with a hole for the lens keeps a camera going in a shower. A microfibre cloth lives in your pocket for wiping spray and drizzle off the front element.
- Sand and grit. On the coast or in dunes, never change lenses in the wind. Sand in the mechanism is expensive. Keep the bag zipped and the cap on between shots.
- Cold. Batteries drain fast in the cold, so carry a spare or two and keep them in an inside pocket where your body heat holds the charge. Condensation forms when you bring a cold camera into a warm tent, so let it warm up inside the bag before you open it.
Back up as you go if you can. A second memory card or a phone copy means a lost card does not lose the whole trip.
Tell the story of the trip
The photos you will treasure in ten years are rarely the grand vistas. They are the small, honest moments: the brew on the camp stove at first light, muddy boots by the tent door, someone laughing round the fire, the kids toasting marshmallows. Shoot those with the same care you give a sunset.
Think in a mix of wide, medium and close. A wide shot sets the scene, the pitch and the view. A medium shot shows people doing something. A tight close-up on details, a mug, a map, a dog's nose, ties it together. Shoot candidly rather than posing everyone, and take more than you think you need, because the throwaway frame is often the keeper.
If wildflowers are part of your patch, our guide to wildflower walks near campsites pairs neatly with close-up work on a soft, overcast morning.
Shoot with respect
Good photos are never worth harming a place or a creature. Give wildlife plenty of space and use a longer lens or a phone zoom rather than creeping closer; if an animal changes its behaviour because of you, you are too close. Never bait or corner wildlife for a shot, and give nesting birds a very wide berth.
On the ground, stick to paths and do not trample fragile ground, crops or wildflowers to frame a picture, and do not climb fences or cross private land without permission. Follow the Countryside Code in England and Wales and the Scottish Outdoor Access Code north of the border, and leave no trace: take your litter, leave the gate as you found it, and let the next person find the spot exactly as you did.
Settings cheat-sheet
A quick reference for common camping shots. Treat these as starting points and adjust to the light in front of you.
| Shot | Aperture | ISO | Shutter and support |
|---|---|---|---|
| Sharp landscape | f/8 to f/11 | 100 to 200 | Whatever it takes; use a tripod |
| Silky waterfall | f/11 to f/16 | 100 | 1 to 4 seconds on a tripod |
| Person in the scene | f/4 to f/8 | 100 to 400 | 1/125s or faster, handheld |
| Wildlife at distance | f/5.6 to f/8 | 400 to 1600 | 1/500s or faster, long lens |
| Camp scene at dusk | f/4 to f/5.6 | 400 to 1600 | Steady rest or tripod |
For the night sky, star trails and the Milky Way, the settings change completely, so see our dedicated guide to night sky photography.
Frequently asked questions
What is the best camera for camping trips?
The best camera is the one you will actually carry. A modern phone handles most camping shots brilliantly. If you want more control and a longer reach for wildlife, a lightweight mirrorless camera with a weather-sealed body is the sweet spot for weight and quality.
What is golden hour and when is it?
Golden hour is the roughly sixty minutes after sunrise and before sunset, when the low sun gives warm, soft light. Exact times shift with the season and your latitude, so check a sunrise app the night before and be set up ten minutes early.
Do I need a tripod for camping photography?
Not always, but it helps enormously. A tripod gives sharp shots in low light and is essential for long exposures of water or the night sky. If you would rather travel light, a small tabletop tripod or resting on a rock or rucksack does most of the job.
How do I take sharp landscape photos?
Use a small aperture around f/8 to f/11, a low ISO of 100 to 200, and keep the camera dead steady on a tripod or firm rest. Focus about a third of the way into the scene, keep the horizon level, and use a timer to avoid shake.
How do I photograph wildlife without disturbing it?
Keep your distance and use a long lens or phone zoom rather than approaching. Move slowly, stay quiet, and never bait or corner an animal. If it stops what it was doing and watches you, back off; you are too close and the shot is not worth the stress.
How do I protect my camera from rain and sand?
Carry a dry bag or a plastic bag with a hole for the lens, and a microfibre cloth for spray. Never change lenses in wind or blowing sand. Keep spare batteries in an inside pocket in the cold, and let a cold camera warm up before opening it in a tent.
The short version
Shoot at dawn and dusk, use the rule of thirds and something in the foreground, keep the camera steady, and take as many candid camp moments as grand views. Look after your kit, give wildlife room, and leave no trace. Then find your next pitch through our directory of UK campsites, or plan a dark-sky trip with our guide to the most photogenic campsites.