How to Make Your Own Camping Meals at Home to Take Away
· Updated
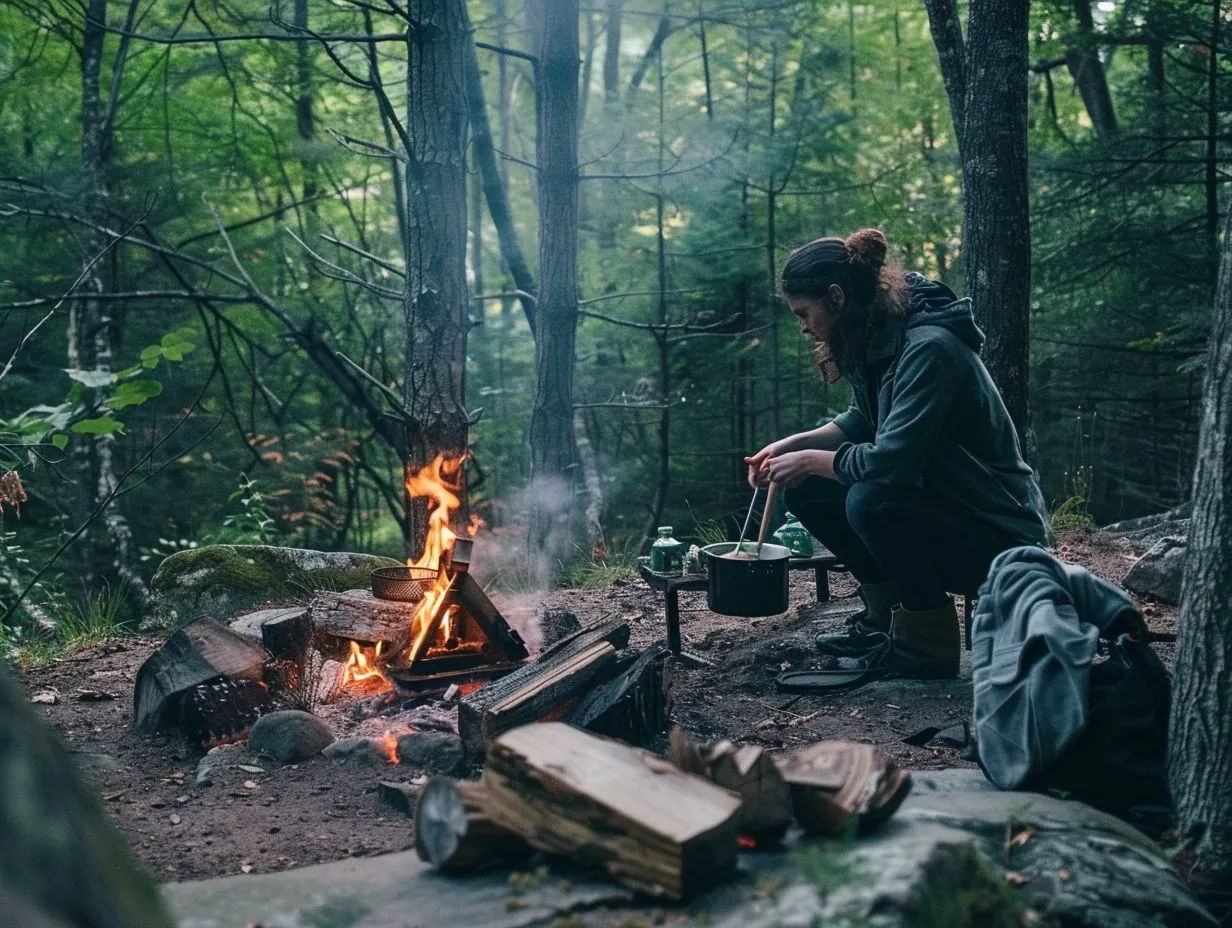
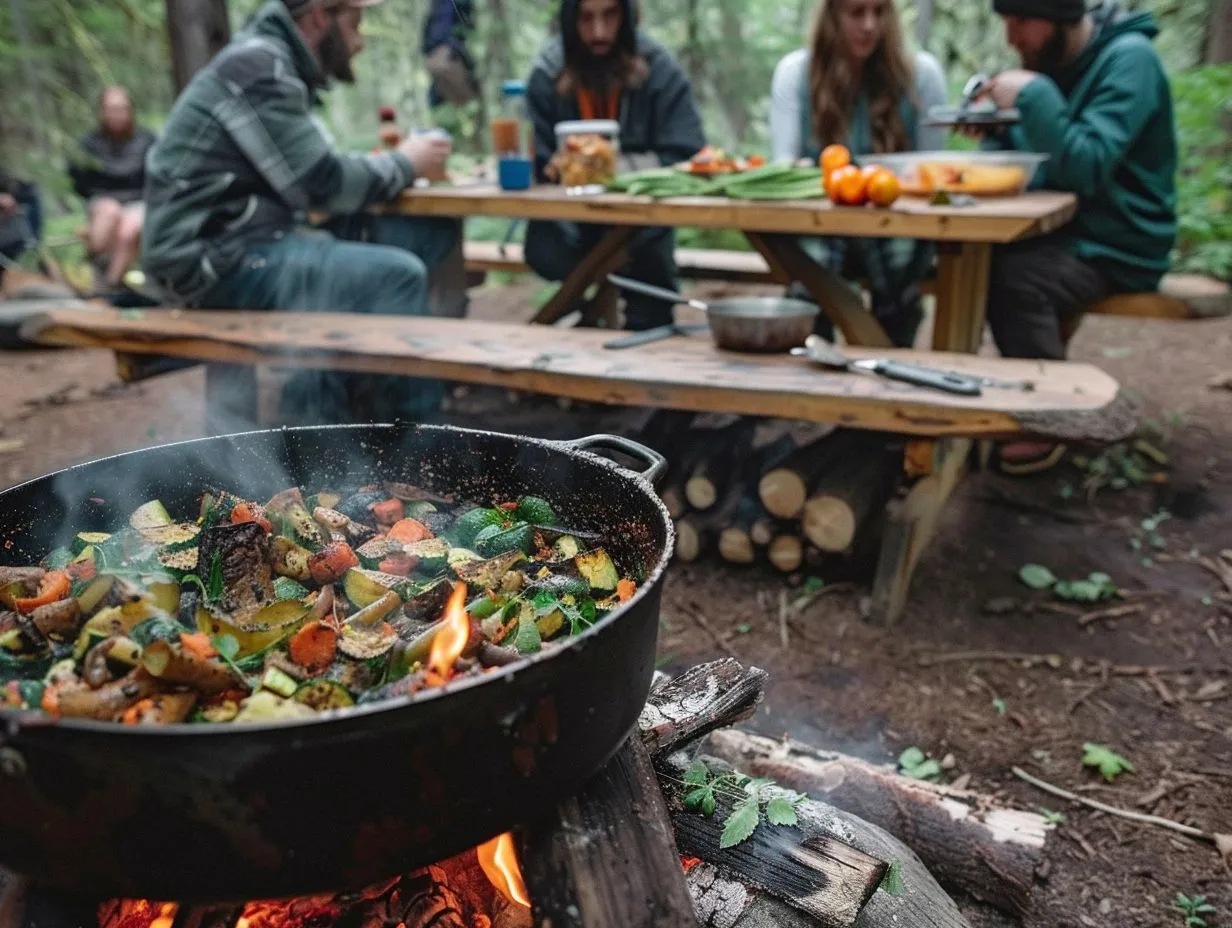
The best camping meals are made in your own kitchen days before you leave. Batch-cook a chilli, freeze it solid, and it travels as an ice pack in the cool box before it becomes dinner. Dry your own cooked mince in a low oven and you have a backpacking meal that costs a fraction of a shop-bought pouch. Prep-ahead cooking is the single biggest upgrade to how you eat on a trip, and it happens at home.
This guide is about food you make in advance to take away, which is different from cooking from scratch on site. If you want on-site recipes, our sibling guides cover those. Here we deal with batch-cooking and freezing, DIY dehydrated meals, "just add water" pouches, portioning and a simple meal plan.
It sits under our guide to campfire cooking essentials, part of Camping Sites in Britain, where you can find and compare campsites, caravan parks and glamping across the UK.
Batch-cook and freeze meals to take
Cook a big pot of something at home, portion it, and freeze it flat. This is the easiest prep-ahead method and it works for any trip where you have a cool box and a car. Frozen meals do a second job on the way: packed solid, they keep everything around them cold, so they replace a chunk of your ice packs.
The meals that freeze and reheat best are the saucy, one-pot kind:
- Chilli con carne. Freezes brilliantly, reheats in one pan, and stretches over rice, jacket potatoes or wraps.
- Bolognese. The most flexible of the lot. Pasta one night, chilli-style the next with a tin of beans stirred in.
- Curry. A dal or a chicken curry holds its flavour well and only needs rice or naan to finish.
- Stew and soup. A thick beef stew or a lentil soup reheats to exactly what you cooked, no compromise.
Cool the food quickly after cooking, then freeze it in flat zip bags in single-meal portions. Flat bags freeze faster, stack better and thaw quicker than round tubs. Label every one with the contents and the cook date. Eat the frozen meals on the first night or two while they are still cold and safe, reheat until piping hot with no cold spots, and never refreeze anything that has fully thawed.
For how long frozen and chilled food stays safe in a cool box, and how to pack it, see how to keep food safe and fresh while camping.
Make your own dehydrated backpacking meals
You can dry your own cooked meals at home and rehydrate them on the trail with nothing but boiling water. This is how you carry three days of dinners in a bag that weighs almost nothing, and it costs far less than the freeze-dried pouches sold for backpacking. The trade-off is time and a little planning, not skill.
What to dehydrate and how
Dry food that is already cooked and low in fat, because fat does not dry well and turns rancid. A dehydrator set to around 60°C is ideal, but a fan oven on its lowest setting with the door propped open works too. Spread food thin on the trays and give it time.
- Cooked mince. Rinse cooked lean mince to remove fat, spread it thin, and dry until hard, roughly 6 to 8 hours. It rehydrates into a passable bolognese or chilli base.
- Pasta sauce and cooked meals. Spread bolognese, chilli or curry thin on lined trays as a "leather", dry until no longer tacky, then break into flakes.
- Vegetables. Sliced peppers, mushrooms, sweetcorn, peas and grated carrot all dry in a few hours and add bulk and colour.
- Cooked rice and pasta. Dry cooked grains until brittle so they rehydrate quickly rather than needing a long simmer.
How to rehydrate on site
Pack each meal in a single zip bag. To cook, add just-boiled water to cover, seal or lid it, and leave it 10 to 15 minutes in the bag or a pot with the lid on. A pot cosy, or just wrapping the pot in a fleece, holds the heat and finishes the job. Add a little more hot water if it looks dry. Dense items like mince take longer than veg, so if a meal has both, start the mince soaking first.
Store your dried meals in airtight bags with the air pressed out, kept cool and dark, and they will last for weeks. For a longer trip, drop a small food-safe silica sachet in each bag to keep moisture out.
DIY "just add water" pouches
Some meals need no drying at all because the ingredients already come dry. Build your own pouches from cupboard staples and you have a hot meal in minutes for the price of the raw ingredients.
- Couscous. The fastest hot meal there is. Couscous needs only boiling water and five minutes covered. Add a stock cube, dried veg, herbs and a handful of nuts or dried fruit.
- Instant rice or noodles. Quick-cook rice and dried noodles pair with a dry sauce mix, dried peas and sweetcorn, and a stock cube for an easy one-pot dinner.
- Instant mash. A brilliant base under a rehydrated stew, or bulked with cheese, dried onion and pepper.
Portion each meal into its own bag with everything measured out, so on site you tip the bag into the pot, add water and stir. Write cooking notes on the bag: water amount and standing time. That small step turns a bag of dry bits into a meal anyone in the group can cook.
DIY dehydrated versus shop-bought freeze-dried
Both give you a light, shelf-stable meal that cooks with boiling water, but they are made differently and suit different trips. Freeze-dried is the convenient option; DIY dehydrated is the cheap and tasty one.
| DIY dehydrated | Shop-bought freeze-dried | |
|---|---|---|
| Cost per meal | Roughly £1 to £2 in ingredients | Around £6 to £9 a pouch |
| Taste | Whatever you cooked, your own recipe | Good, but limited to what is sold |
| Effort | Hours of drying at home | None, open and add water |
| Weight | Very light | Very light, often lighter still |
| Rehydrating | 10 to 15 minutes | 8 to 10 minutes |
| Shelf life | Weeks to a few months | Years |
The honest answer is to mix the two. DIY your everyday dinners to save money and eat your own cooking, and keep a couple of freeze-dried pouches as no-fuss backups for the day you arrive late or cannot be bothered. Our round-up of the best freeze-dried meals for camping covers which pouches are actually worth carrying.
Prep and portion ingredients at home
Even if you plan to cook properly on site, do the fiddly work at home. Chopping an onion is a chore on a camping table and a two-minute job in your kitchen. Prepping ahead means less washing up, less waste and less kit to carry.
- Chop the veg. Dice onions, peppers and carrots, and store them in tubs or bags in the cool box ready to tip into the pan.
- Pre-mix spice blends. Measure the spices for each meal into one small bag or a little screw-top pot. One "chilli mix" bag beats carrying six jars.
- Decant, don't carry packaging. Move oil, sauces, cereal and dry goods into right-sized bottles and tubs. You save weight and bin space.
- Label everything with the date. Contents and cook or pack date on every bag and tub, so you know what to eat first and what is still safe.
A dry spice blend and pre-chopped veg turn a from-scratch dinner into an assembly job, which is exactly what you want after a day walking.
Overnight oats and no-cook options
Not every meal needs a stove. No-cook food saves fuel, saves time and gets you moving in the morning. Overnight oats are the standout: the night before, combine oats, milk or a milk powder made up with water, and any fruit, nuts or seeds in a tub or jar, and by breakfast they are ready to eat cold.
Other no-cook options worth prepping at home include wraps with cured meat or hard cheese, oatcakes with nut butter, flapjacks, and a homemade trail mix of nuts, seeds and dried fruit. These carry well and cover breakfast, lunch and snacks without touching the gas.
A simple meal-planning method
A menu written before you pack is what stops you overbuying, forgetting the stock cubes and eating beans three nights running. The method is four steps.
- Plan the menu. Write down breakfast, lunch and dinner for each day of the trip, plus snacks. Be realistic about your kit and the time you will have.
- List the ingredients. Work backwards from the menu to a shopping list, checking what you already have. Note which meals get made ahead and which get cooked on site.
- Prep and pack. Batch-cook, dehydrate, portion and label in the days before you leave. Group each day's food together so nothing gets lost in the bottom of the cool box.
- Eat fresh and perishable food first. Order your meals so anything fresh, chilled or fully thawed gets eaten in the first day or two, with dry and ambient stores saved for later. This is the safest way to run down a cool box.
Plan for one easy no-cook or just-add-water night as a buffer, because trips run late and weather turns. Once your menu is sorted, all that is left is choosing where to pitch. Browse the full CSIB campsite directory to find a spot with the facilities you need.
Frequently asked questions
Can you freeze meals to take camping?
Yes. Batch-cook meals like chilli, bolognese or curry, portion them into flat bags or tubs, and freeze them solid. They keep the cool box cold on the journey and thaw ready to reheat. Eat them in the first day or two and reheat until piping hot.
How do you make your own dehydrated camping meals?
Cook the food first, then dry it thin in a dehydrator at about 60°C or a fan oven on its lowest setting. Dry cooked lean mince, sauces and vegetables until hard, store them airtight, then rehydrate on site with boiling water for 10 to 15 minutes.
Is it cheaper to make your own camping meals than buy freeze-dried?
Much cheaper. A homemade dehydrated meal costs roughly £1 to £2 in ingredients, against £6 to £9 for a freeze-dried pouch. You also eat your own recipes. The trade-off is the hours of drying time at home, so many campers do both.
What camping meals just need boiling water?
Couscous, instant rice, instant mash and quick-cook noodles all cook with boiling water alone. Build a pouch by adding a stock cube, dried vegetables, herbs and a protein, portioned into one bag per meal so you just add water and stir.
How far in advance can you prep camping food?
Batch-cook and freeze meals up to a month ahead. Dehydrated meals stored airtight last weeks to a few months. Chop veg and mix spice blends a day or two before you leave. Label everything with the date and eat fresh, chilled food first.
What can I make for camping without cooking?
Overnight oats are the easiest: soak oats in milk with fruit the night before and eat them cold. Wraps with cured meat or cheese, oatcakes with nut butter, flapjacks and homemade trail mix all travel well and need no stove.
The short version
Do the work at home. Batch-cook and freeze a few dinners to double as ice packs, dehydrate your own meals to save real money over freeze-dried, and portion "just add water" pouches for the light days. Write a menu, eat the fresh food first, and label everything with the date.
For on-site cooking to go with your prep, start with campfire cooking essentials, and for meat-free ideas see our vegetarian campfire recipes.