
How to pack a kayak for camping: trim, balance and dry bags
· Updated
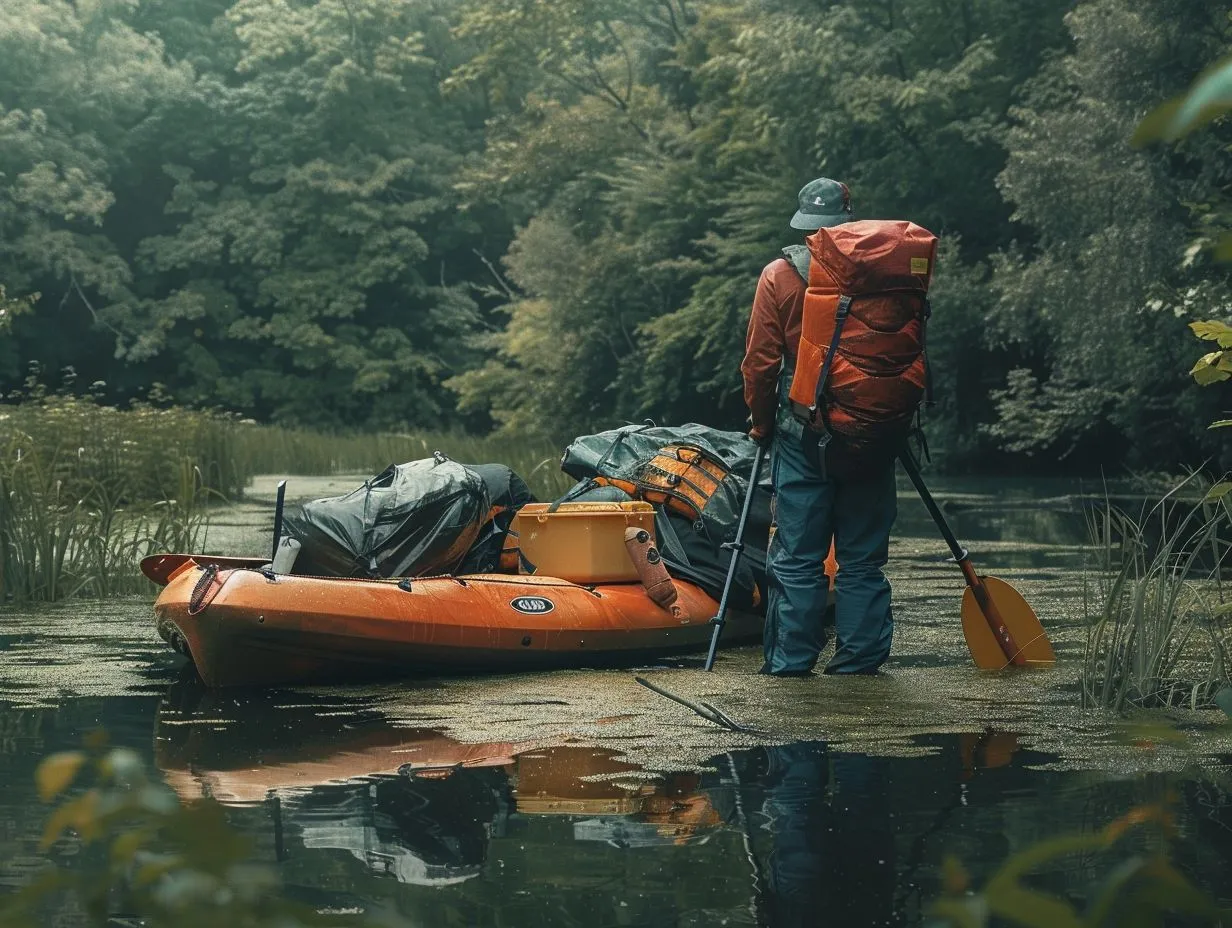
Pack a kayak for camping by keeping the load low and centred over the cockpit, putting the heaviest items (water and food) in the middle, and splitting the rest evenly between the bow and stern hatches so the boat sits level. Everything goes in dry bags, the driest sealed hatch takes your sleeping bag and dry clothes, and nothing loose is left to float away in a capsize. Get those four things right and a fully loaded touring kayak handles almost as sweetly as an empty one.
This is the practical loading skill, not the trip itself. For choosing water, planning distances and the wider kit list, read our guide to kayaking and camping in the UK. It sits within our round-up of campsites with water sports here at Camping Sites in Britain, where you can find launch-friendly sites for the night before and the night after.
Choose a boat you can actually load
You need somewhere to put several days of kit, and that means storage built into the hull. A touring or sea kayak with sealed bulkhead hatches at bow and stern is the proper tool: the compartments keep gear dry, keep it out of the cockpit and, because they are sealed, give the boat buoyancy if you go over. Anything from around 4.5 metres upwards will usually swallow a solo camping load with room to spare.
A sit-on-top works too, but it packs differently. There are no sealed hatches to hide gear in, so dry bags get lashed to the deck bungees and any small hatch or centre well is used for the heavy, dense items. The golden rules below still apply, you are just building the load on top of the boat rather than inside it, which makes low, tight and central even more important.
Whichever you paddle, know its weight limit and stay well under it. A boat loaded to its maximum sits low, turns sluggishly and has almost no reserve buoyancy for rough water, so treat the stated figure as a ceiling, not a target.
The golden rules of trim and balance
Trim and balance are what separate a stable, easy boat from a twitchy, wallowing one, and both come down to where the weight sits. There are four rules and they never change.
- Keep it low. The closer your gear sits to the bottom of the hull, the lower the boat's centre of gravity and the more stable it feels. Load dense items along the keel line, not stacked up near the deck.
- Keep it central. The heaviest things belong in the middle of the boat, close to the cockpit and over your seat. Weight out at the ends makes the kayak slow to turn and prone to pitching in waves.
- Balance bow and stern. Spread the load so the boat sits level in the water, neither nose-down nor tail-down. Roughly even weight fore and aft keeps it tracking straight and predictable.
- Do not overload. Every extra kilo pushes the hull deeper and costs you freeboard and speed. If the boat sits low with the deck near the waterline, you are carrying too much.
A quick test on the water settles it: paddle a few strokes before you leave the shallows. If the boat feels tippy, your load is too high. If it drags its tail or wanders off line, your weight is too far back. Adjust before you commit to open water, not after.
Everything goes in dry bags
Dry bags are non-negotiable, because a sealed hatch is water-resistant, not waterproof, and a capsized recovery puts water where you least want it. The trick is to use several small bags rather than one big one.
Small bags pack into the tapered ends of a hatch far better than a single fat sack, filling the space instead of jamming halfway. They also let you organise by function and pull out just what you need. Colour-code them so you can find things fast: red for the cook kit, blue for sleeping gear, yellow for clothes. Before you seal each one, squeeze the air out, then roll and clip the closure. A bag full of trapped air is a stubborn balloon that wastes space and floats loose if the hatch floods.
What goes where
Load the boat so the things you reach for stay reachable and the things that must stay dry stay driest. Here is the working plan.
| Item | Where it goes | Why |
|---|---|---|
| Water and food | Low and central, either side of the seat | Heaviest and densest kit, keeps the boat low and balanced |
| Sleeping bag and dry night clothes | Driest sealed hatch, deep in the end | Wet insulation is miserable and dangerous, so it gets the best protection |
| Tent | Split between both hatches | Poles and pegs one end, flysheet the other, spreading a bulky load |
| Stove, fuel and cook kit | Stern hatch, near the bulkhead | Heavy-ish and only needed at camp, not on the water |
| Day items, snacks, sun cream, map | Day hatch or deck bag within reach | Needed on the move without stopping to open a main hatch |
| Water bottle, first aid, phone, whistle | On your body or clipped in the cockpit | Safety kit must stay with you even if the boat does not |
Push the light, bulky things (your sleeping bag, spare clothes) out towards the ends, and keep the dense, heavy things (water, food, stove) in the middle. That single habit does most of the trim work for you. Fill the awkward gaps with soft items like a rolled sleeping mat, so nothing shifts around once you are moving.
Secure everything loose
Anything not inside a closed hatch must be clipped or lashed down, because in a capsize loose kit floats off and is gone. Run deck lines and bungees across the fore and aft decks and thread a paddle, spare paddle and any deck-carried dry bag under them, then clip the heavier ones to a fixed point with a short leash or carabiner.
Keep the front deck clear enough to paddle and to climb back on during a re-entry. Do not build a tower of gear on top of the boat: it raises your centre of gravity, catches the wind like a sail and gets in the way exactly when you need the deck clear. Low and tight beats high and bulky every time.
A kayak camping packing checklist
Use this as a load-out list, grouped roughly by dry bag so it maps onto the boat.
- On you or in the cockpit: buoyancy aid, whistle, phone in a waterproof pouch, small first aid kit, snacks, water for the day, map or chart, sun cream.
- Sleeping bag (driest hatch): sleeping bag in its own dry bag, sleeping mat, dry night clothes, a warm layer.
- Shelter (split hatches): tent inner and flysheet, poles, pegs, groundsheet or footprint, guylines.
- Cooking (stern): stove, fuel, lighter and matches, pan, mug, spork, food in sealed tubs, rubbish bag, folding water carrier.
- Water and hydration (central): full water bladders or bottles, plus a filter or purification tablets if you plan to refill.
- Clothing and washing: spare paddling layers, camp shoes, quick-dry towel, wash kit, head torch.
- Boat and safety kit: spare paddle, pump or bailer, sponge, paddle float, repair tape, tow line, deck compass.
Practise before the big trip
A loaded kayak handles nothing like an empty one, so learn how yours behaves before you rely on it. It sits lower, accelerates more slowly, turns wider, and a re-entry after a capsize is a very different job with the hatches full. Load the boat exactly as you would for the real trip, launch somewhere sheltered, and paddle, turn and, ideally, practise getting back in.
Once you have the loading dialled in, pick your water. Our guides to the best canoe camping routes and kayaking in the Lake District are good places to start, and you can line up a launch-friendly base from our campsite listings.
Frequently asked questions
How do you distribute weight in a kayak for camping?
Keep it low and central. Put the heaviest items, usually water and food, in the middle of the boat close to the cockpit, and push lighter, bulkier gear towards the ends. Balance the load evenly between the bow and stern hatches so the boat sits level in the water.
Do you need a touring kayak to go camping?
It is by far the easiest option, because sealed bow and stern hatches give you dry, buoyant storage. You can camp from a sit-on-top by lashing dry bags to the deck bungees and using any centre well for heavy items, but plan for less capacity and pack even lower and tighter.
How do you keep gear dry in a kayak?
Pack everything in dry bags, even inside a sealed hatch, because hatches are water-resistant rather than fully waterproof. Squeeze the air out and roll the closure on each bag. Give your sleeping bag and dry clothes the driest sealed compartment and keep them deep in the hatch end.
Why use several small dry bags instead of one big one?
Small bags pack into the tapered ends of a hatch much better than one large sack, filling the space instead of jamming. They also let you colour-code by function and pull out just what you need without unloading the whole boat.
How much can you carry in a kayak for camping?
Stay well under the boat's stated weight limit rather than loading to it. A kayak packed to its maximum sits low, turns slowly and loses reserve buoyancy for rough water. If the deck is near the waterline, you are carrying too much.
Should you test a loaded kayak before a trip?
Yes. A fully loaded boat sits lower, turns wider and re-enters differently after a capsize. Pack it exactly as for the trip, launch somewhere sheltered, and paddle, turn and practise getting back in before you commit to open water.
The short version
Load low, load central, balance bow and stern, and stay under the weight limit. Everything goes in colour-coded dry bags with the air squeezed out, your sleeping bag gets the driest hatch, and anything loose gets clipped down so it cannot float off.
Do that, test the loaded boat before you leave, and you are ready for the water. For the wider trip, head back to our guide to kayaking and camping in the UK.